MELTED RECIPES
where delicious ideas melt into life, from stovetop to backyard. Always warm, simple, and irresistibly satisfying. 🍳🔥🧀
BEST CATEGORIES
TRENDING


NEW RECIPES
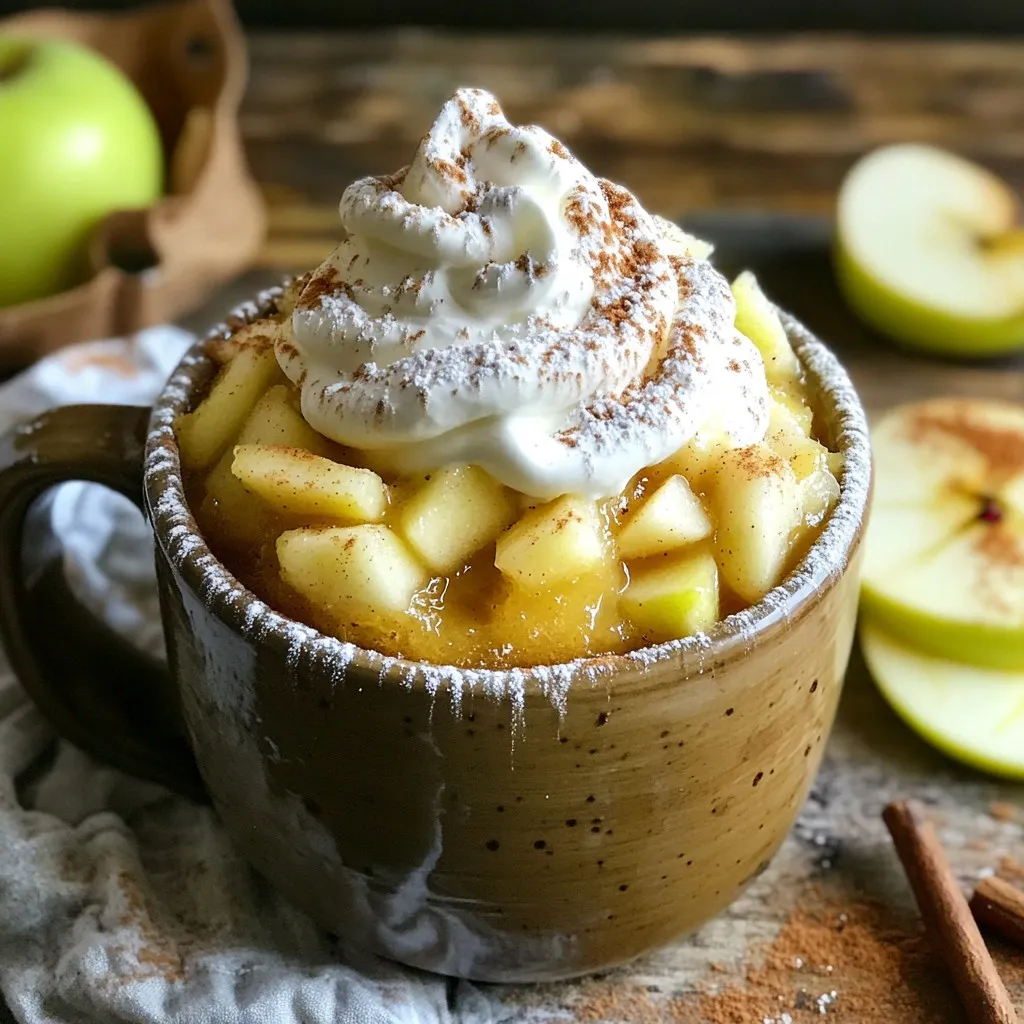
Irresistible Apple Cider Donut Mug Cake Recipe
Craving something sweet and warm? Get ready to whip up my Irresistible Apple Cider Donut Mug Cake! In just a few minutes, you can enjoy
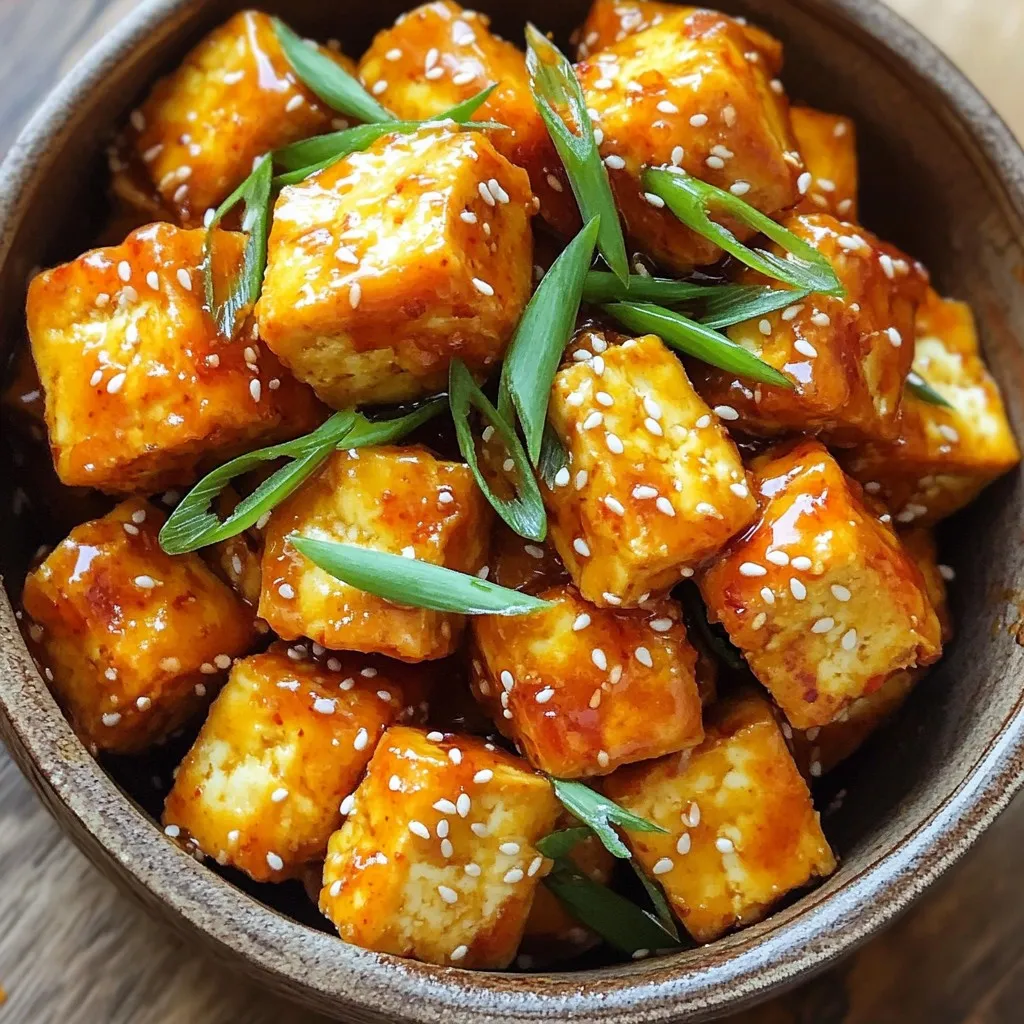
Air Fryer Crispy Tofu with Sweet Chili Delight
If you’re looking to spice up your meals, try my Air Fryer Crispy Tofu with Sweet Chili Delight. This recipe transforms plain tofu into a
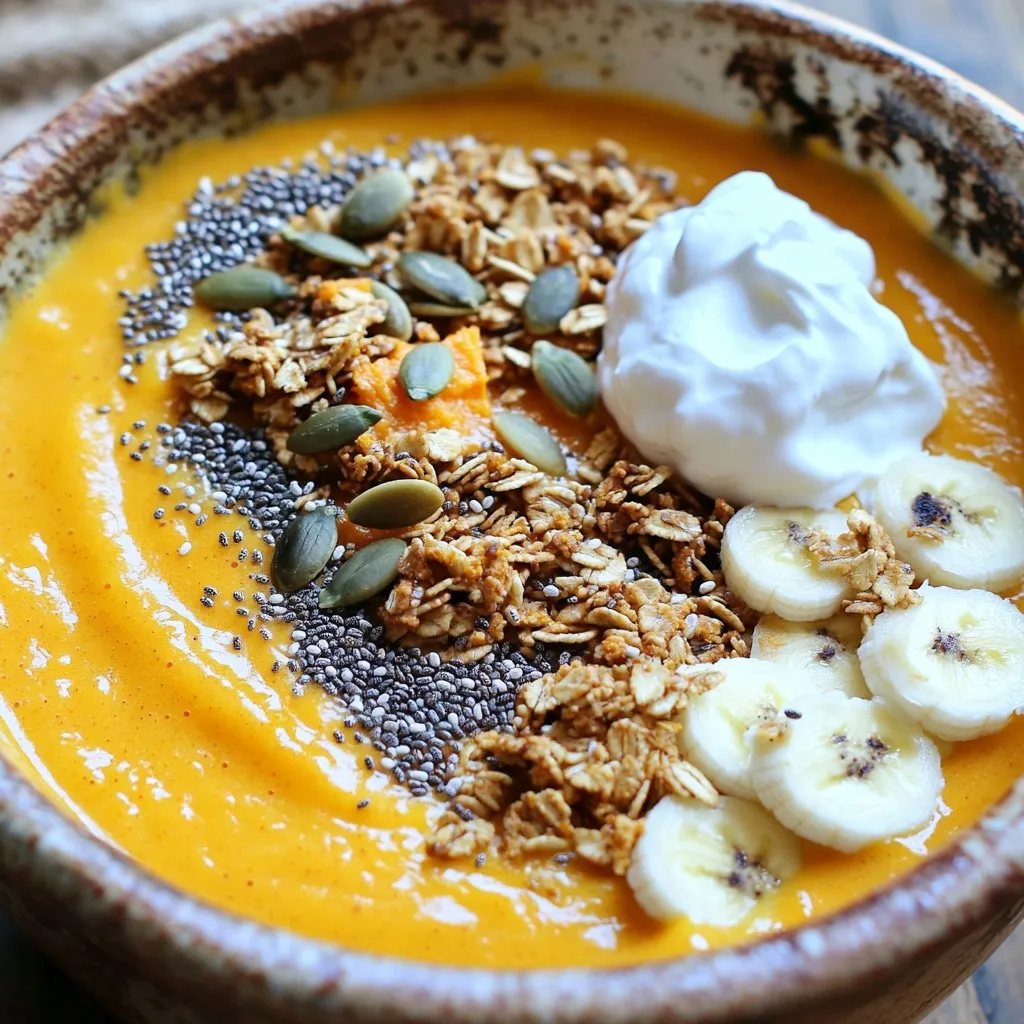
High-Protein Pumpkin Pie Smoothie Bowl Delight
Craving a delicious twist on pumpkin pie? Let’s turn that fall favorite into a high-protein smoothie bowl! You’ll get all the rich flavors and creamy
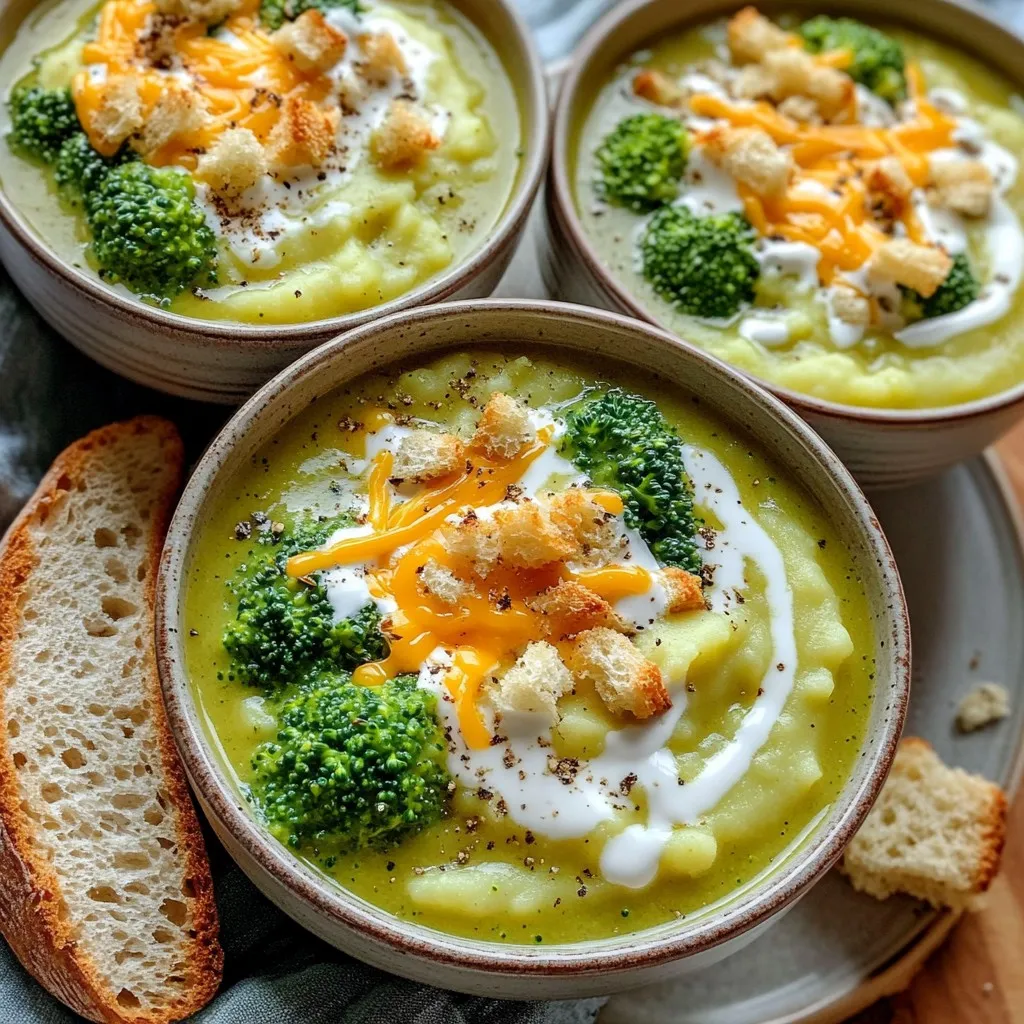
Slow Cooker Cheesy Broccoli Potato Soup Comfort Dish
Warm, cozy, and oh-so-cheesy, this Slow Cooker Cheesy Broccoli Potato Soup is your new go-to comfort dish. In just a few easy steps, you can
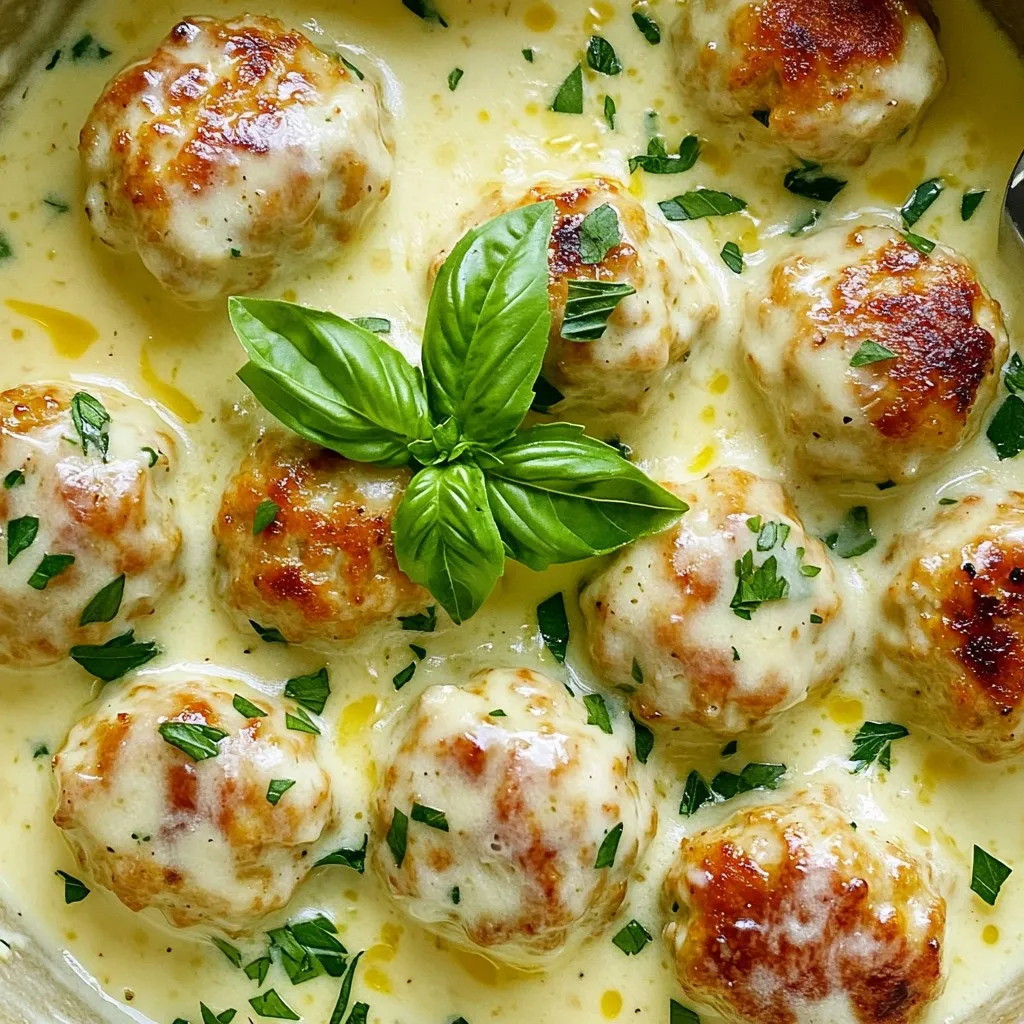
Creamy Garlic Parmesan Chicken Meatballs Delight
Get ready to taste something amazing! My Creamy Garlic Parmesan Chicken Meatballs are easy to make and full of flavor. With simple ingredients and clear
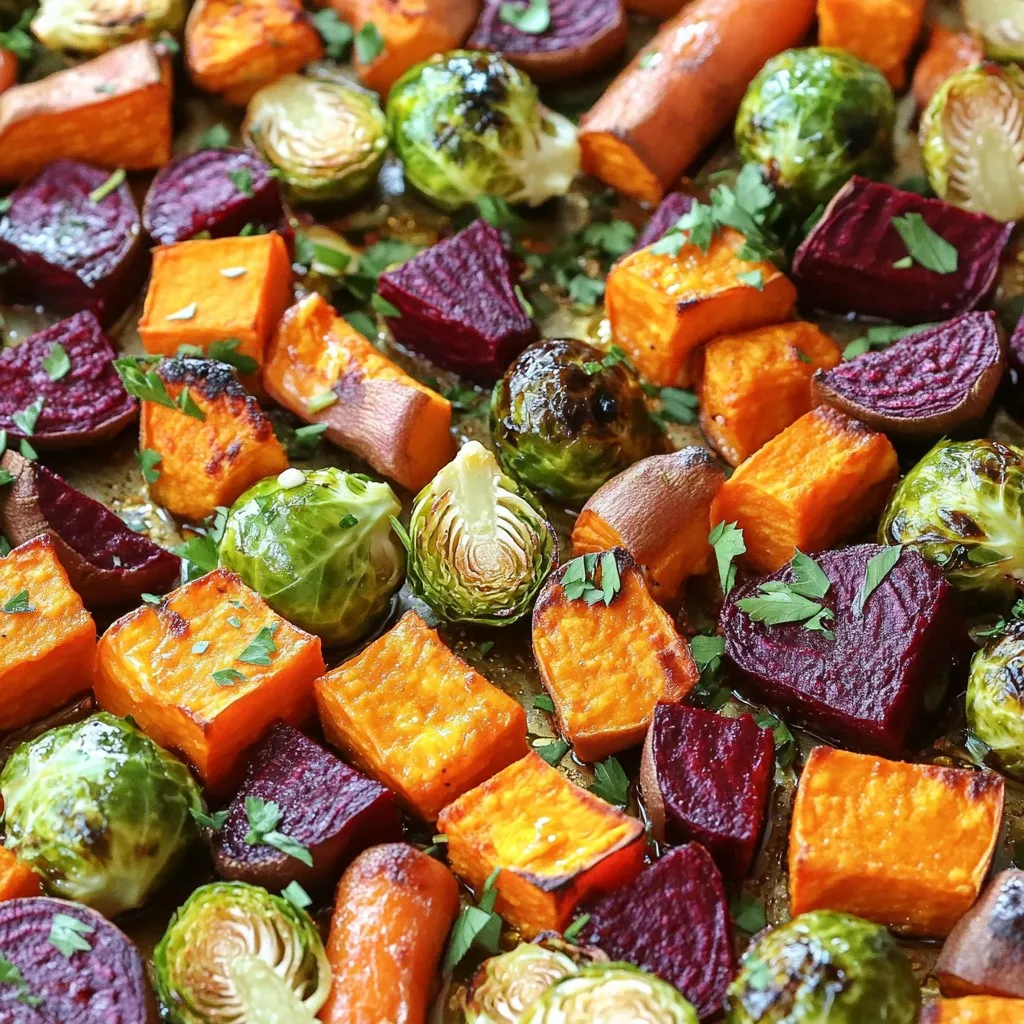
Sheet-Pan Fall Veggies with Tahini Drizzle Delight
Get ready to savor the season with my Sheet-Pan Fall Veggies with Tahini Drizzle Delight. This simple yet flavorful dish brings together sweet potatoes, beets,
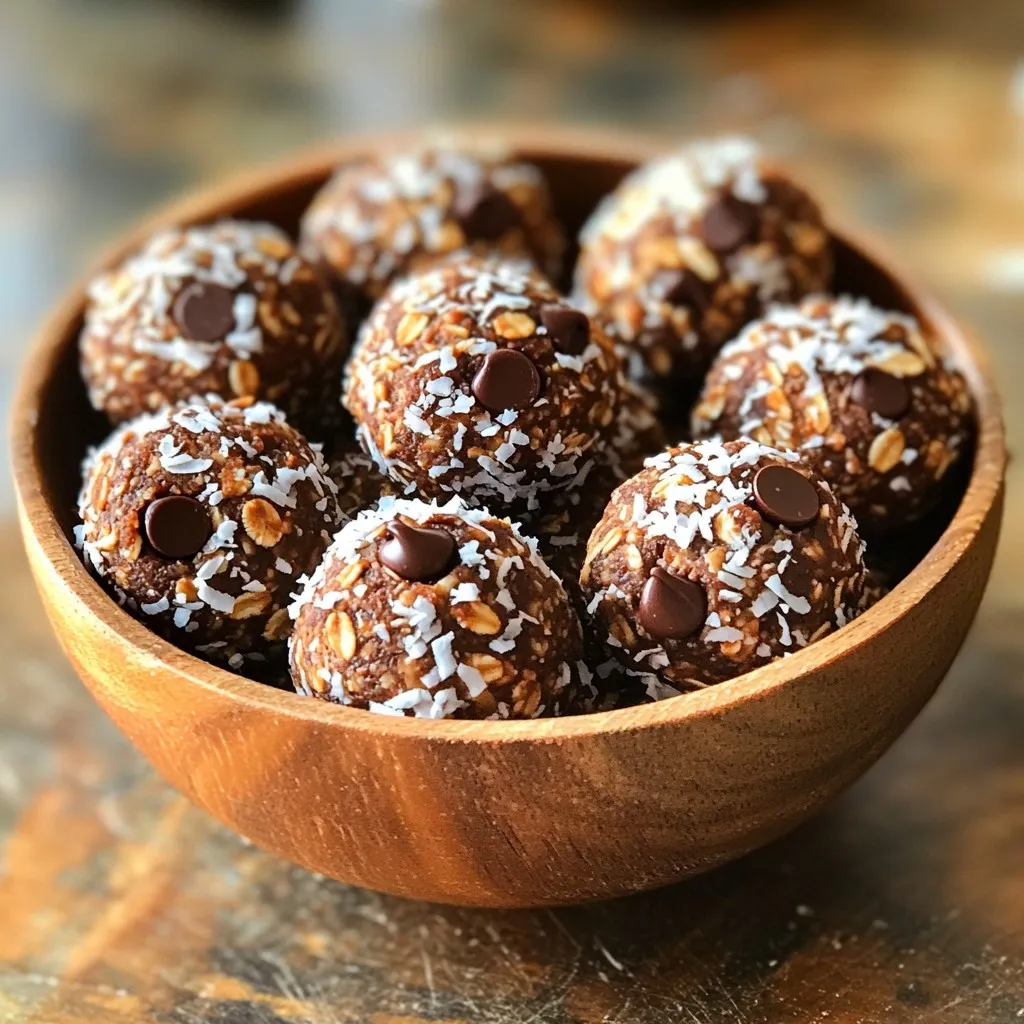
No-Bake Chocolate Coconut Energy Bites Easy Snack
Are you looking for a quick, healthy snack that packs a delicious punch? These No-Bake Chocolate Coconut Energy Bites are your answer! With just a
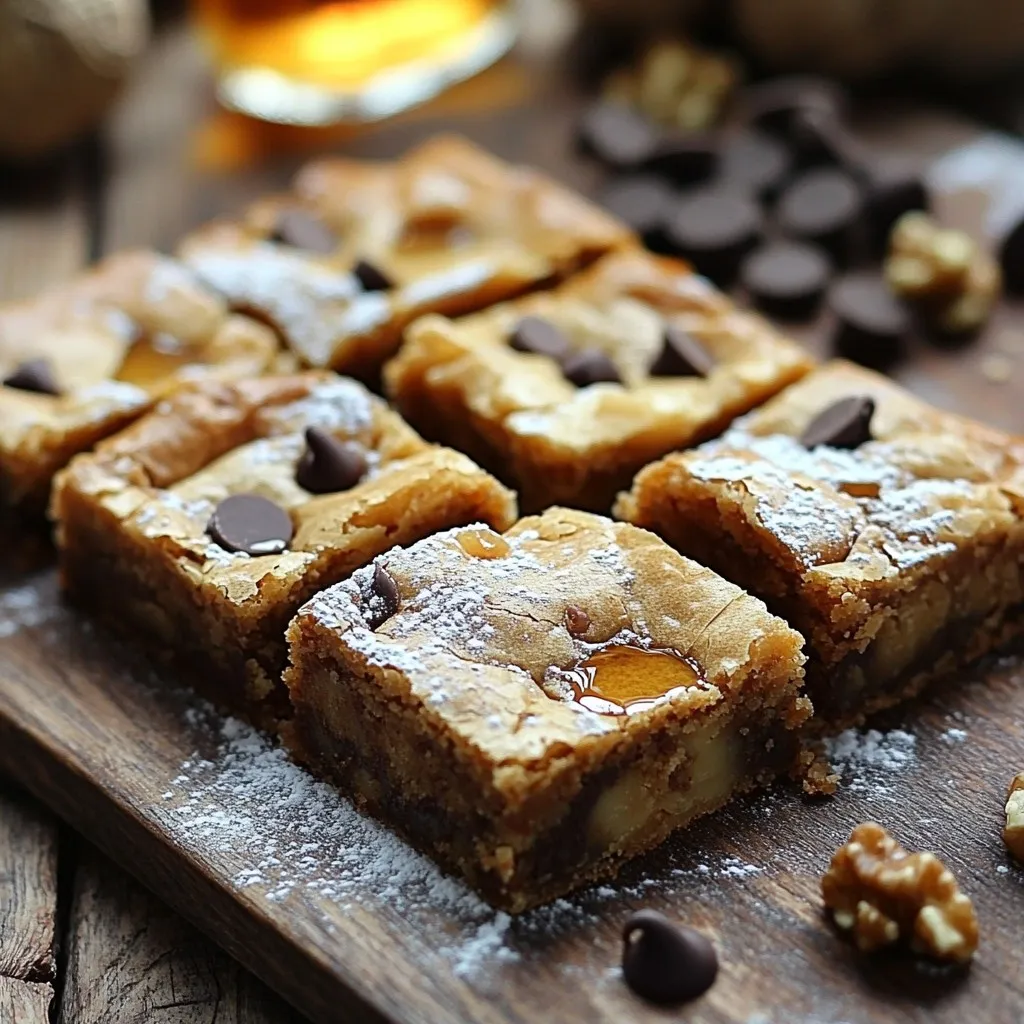
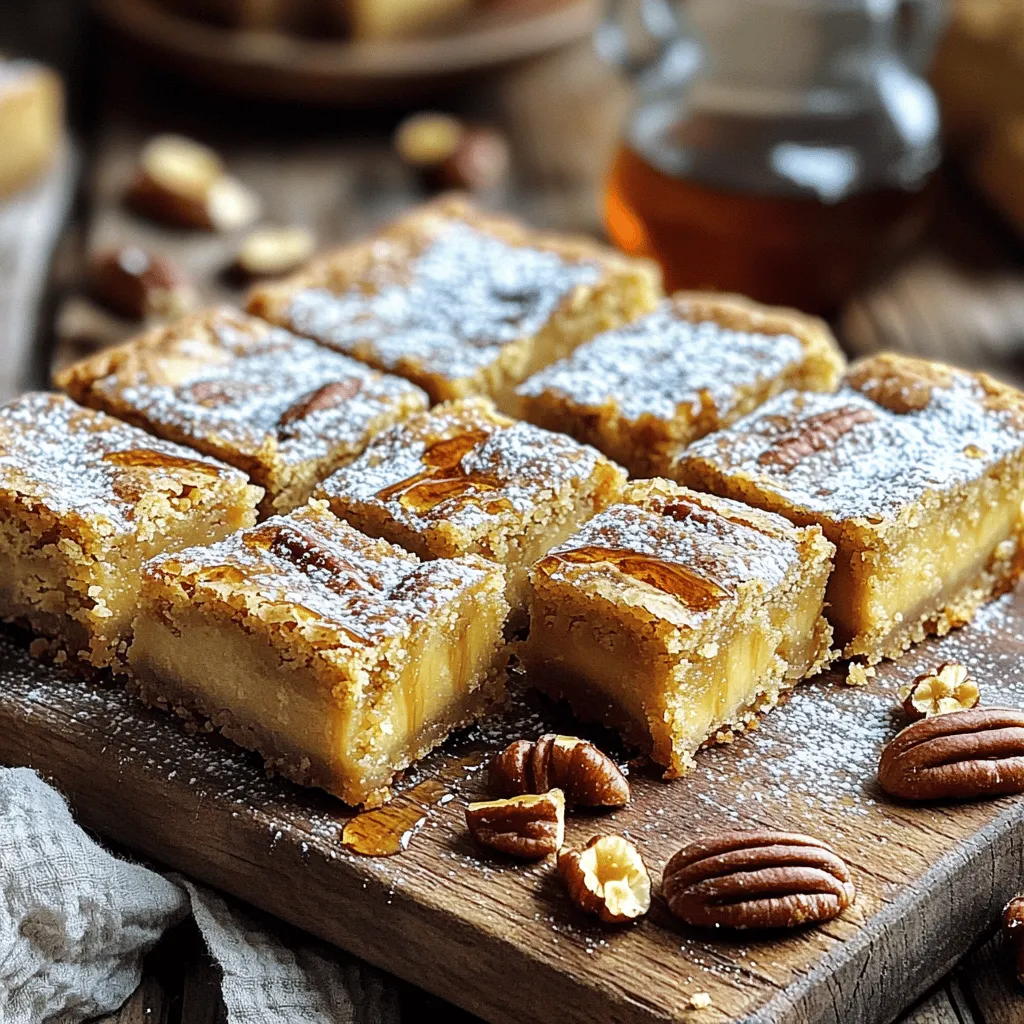
Brown Butter Maple Blondies Tasty and Simple Treat
Get ready to indulge in a sweet delight! Brown Butter Maple Blondies bring a warm, nutty flavor that you won’t forget. With simple ingredients and